Authorizing Users in Analysis
For Analysis pages, you can give different users different permissions. For example, permissions to browse pages, or export data.
How To Authorize
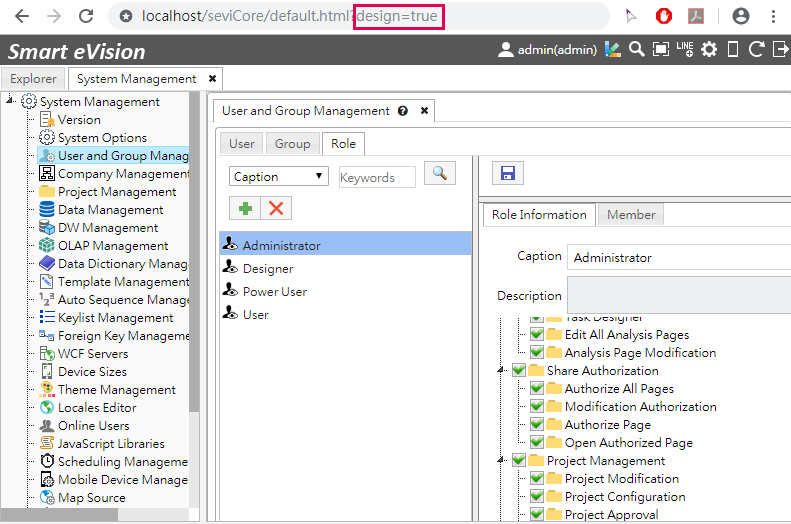
To configure authorization settings, please log in to the designer's interface of Smart eVision (The URL has "design=true" included) with an Administrator account.
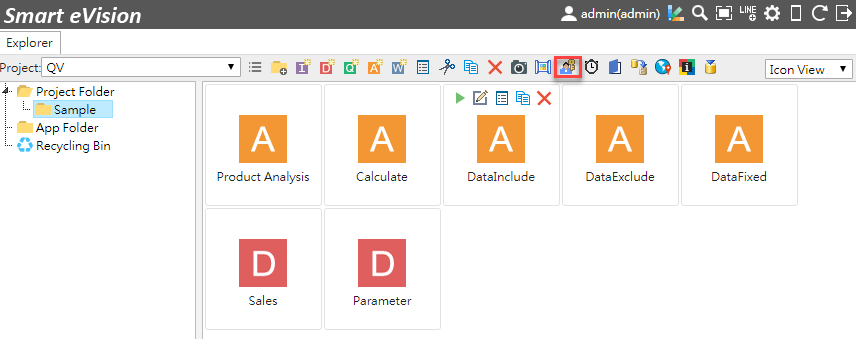
Click the Authority button in the Explorer pane. Note that you will only see this button when you are in a folder under Project Folder.
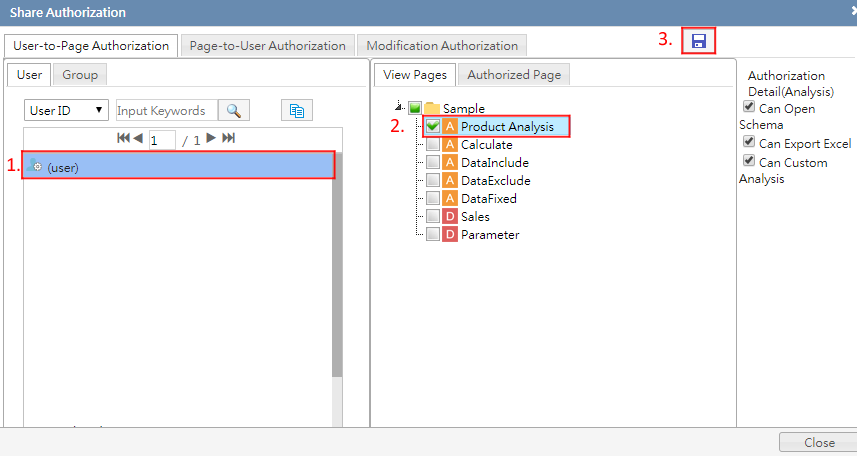
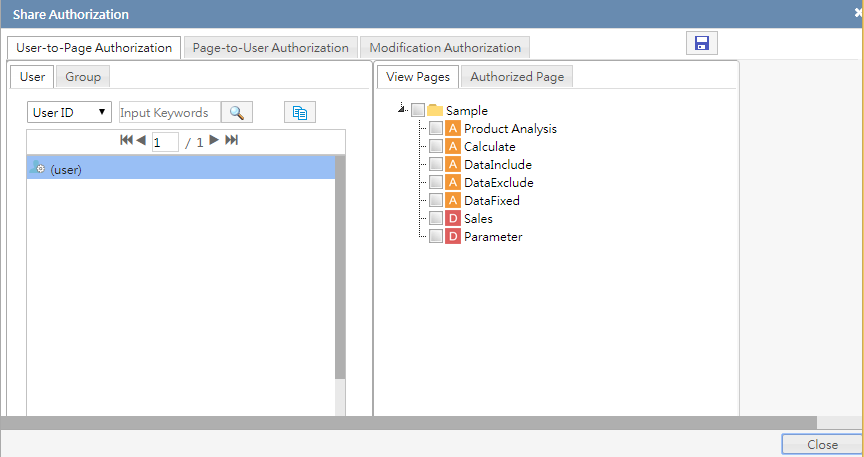
In the Shared Authorizations dialog, you can adjust permissions according to roles. Considering different business demands, we provide person-to-page or page-to-person authorization perspectives and are sorted according to project folders.
As the Administrator role, check the pages or folders you want to authorize to a user. Be sure to save your settings after you are finished.
When users enter Smart eVision's user's interface (The URL without "design=true"), users will have the right to view pages in the appointed folder because they are authorized.
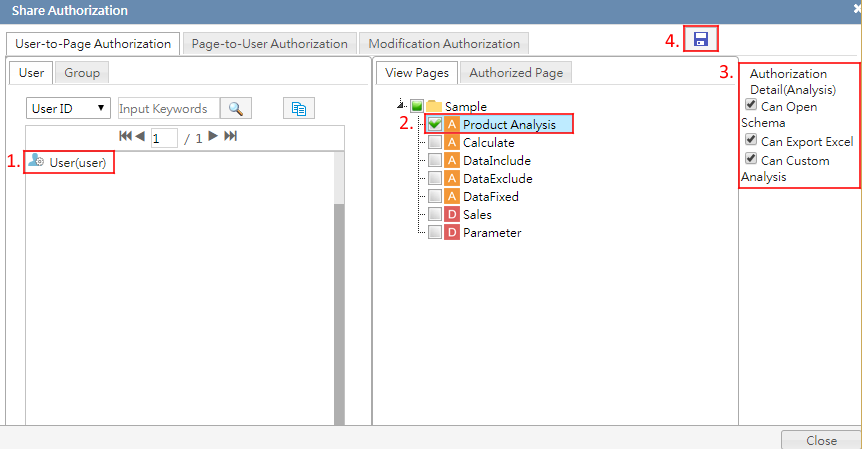
In addition, you can also control whether users can export pages into other file types, such as the data schema, Excel and their own custom analysis.
After setting Authorization Details, this is what users will see:
Note: |
|---|
Person-to-page: Used when multiple pages needs to be viewed by a certain person. Page-to-person: Used when a newly created page needs to be viewed by a group of people. |